.png)
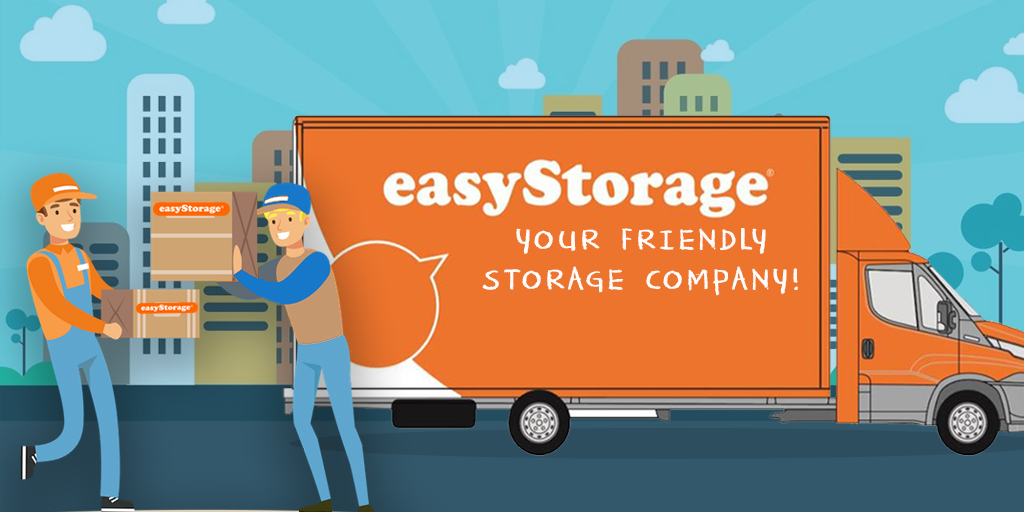
The Ultimate Checklist To Plan Your Self Storage
Have you identified yourself in at least one of these situations?
Whichever the reason, we at easyStorage prepared an ultimate checklist to help you plan your self-storage.
Planning Stage
1. Sort and organize your stuff.
2. Identify the items you will be putting in the storage facility.
3. Classify your items in three groups --- STORE, DONATE, and THROW.
4. Make an inventory of the items you will be storing in a facility --- those you put in the "STORE" group.
5. Estimate the storage unit size you need to rent to house your stuff.
6. Determine the packing materials you will be using. I suggest you use boxes. It's the best way to prevent damage to your items and to maximise space. If you have clear bins, you might as well use them for packing --- they will help you track your things easily as you will be able to see through them. You don't have to dig in and turn everything upside down just to locate something.
7. Buy/prepare the packing materials you will be needing --- boxes, tapes, special cardboard, bubble wrap, newspaper print, etc.
8. Determine how much budget you're comfortable to spend on your storage needs. This will help you find the best and most suitable storage facility depending on your budget. (Clue: Look for the cheapest storage in your area if you have a limited budget. Storage companies have different discounts and special promotions.)
9. Decide how long you will be storing your items. This will help you choose which storage company offers the best promo depending on the duration of your storage contract.
Packing Stage
10. As much as possible, use boxes or empty clear bins in packing your items.
11. Label and number each box and create an inventory. Make a list of items and their box location.
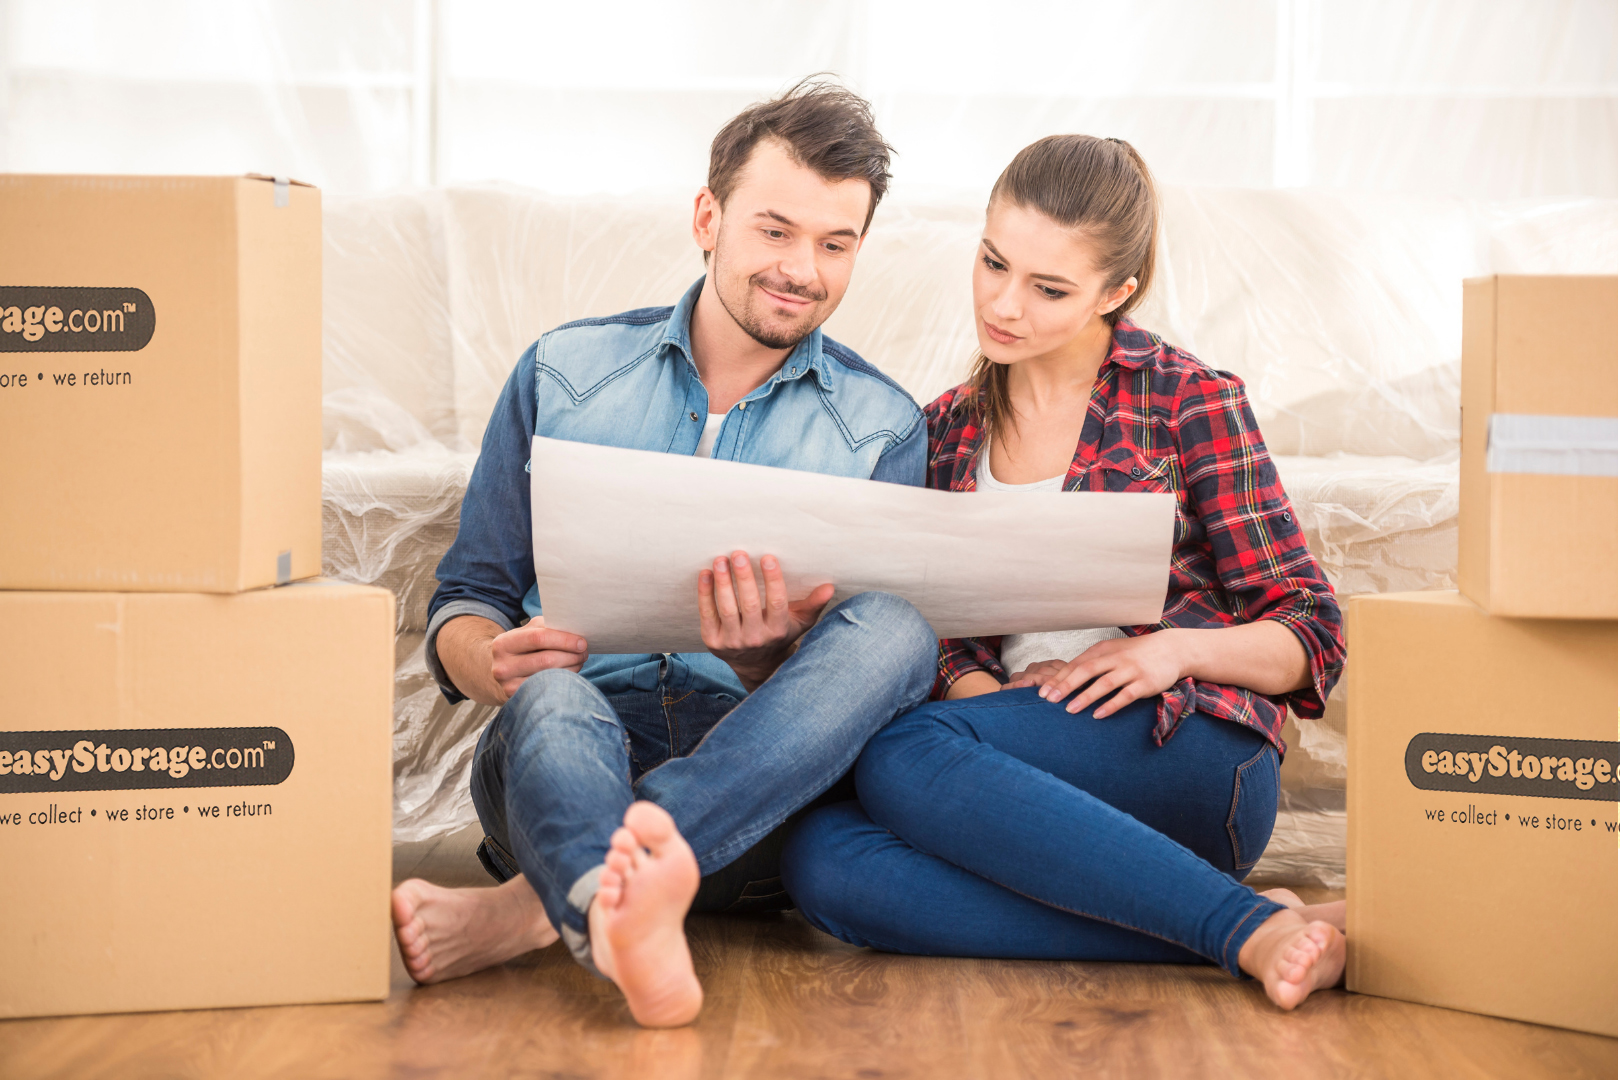
Decision Stage
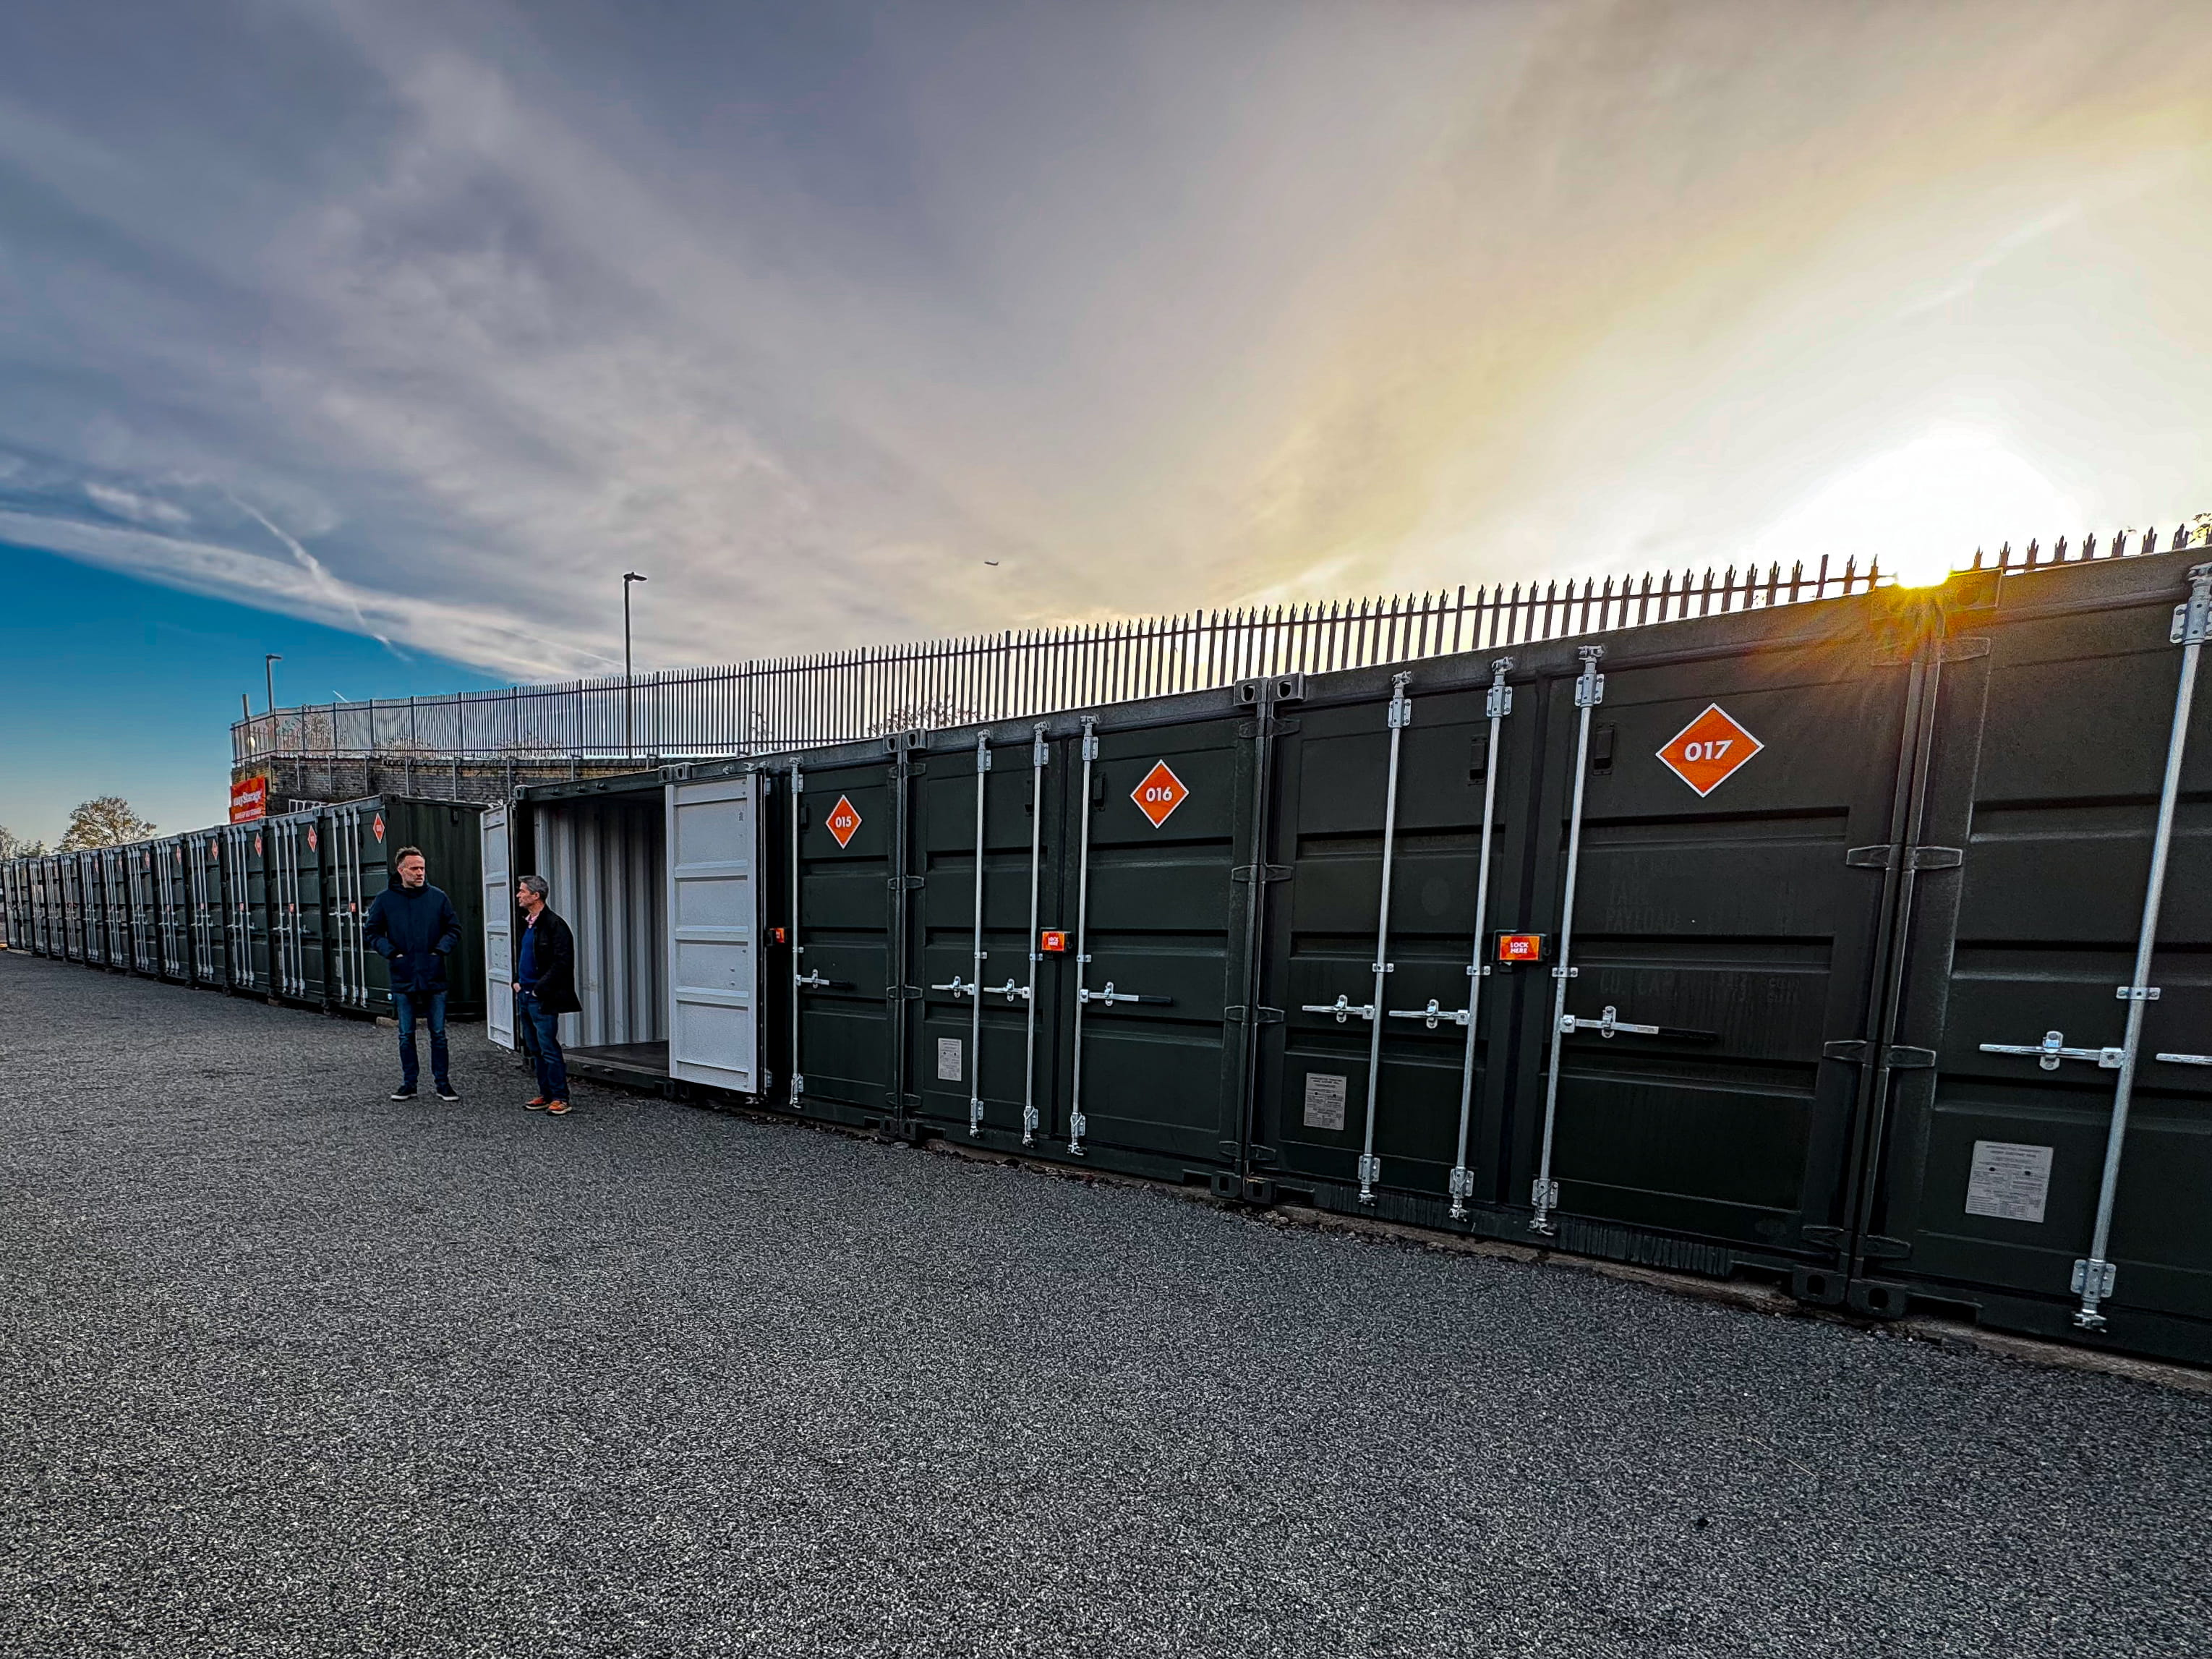
12. Identify the best and reliable and storage company in your city. The first thing you need to check is the availability of storage facilities in your place. Make a list of storage companies currently operating in your area or the city next to you (you can always use the internet to do this). Once you're done enumerating the storage companies, you can visit their site one by one to check the following:
12.1. Operating hours - You need to check the hours when you can visit the facility and access your storage unit. You need to first know whether or not it is convenient for you to house your items in one facility, especially if you are someone who's having a regular job from 8 AM to 5 PM and might want or need to access your unit frequently.
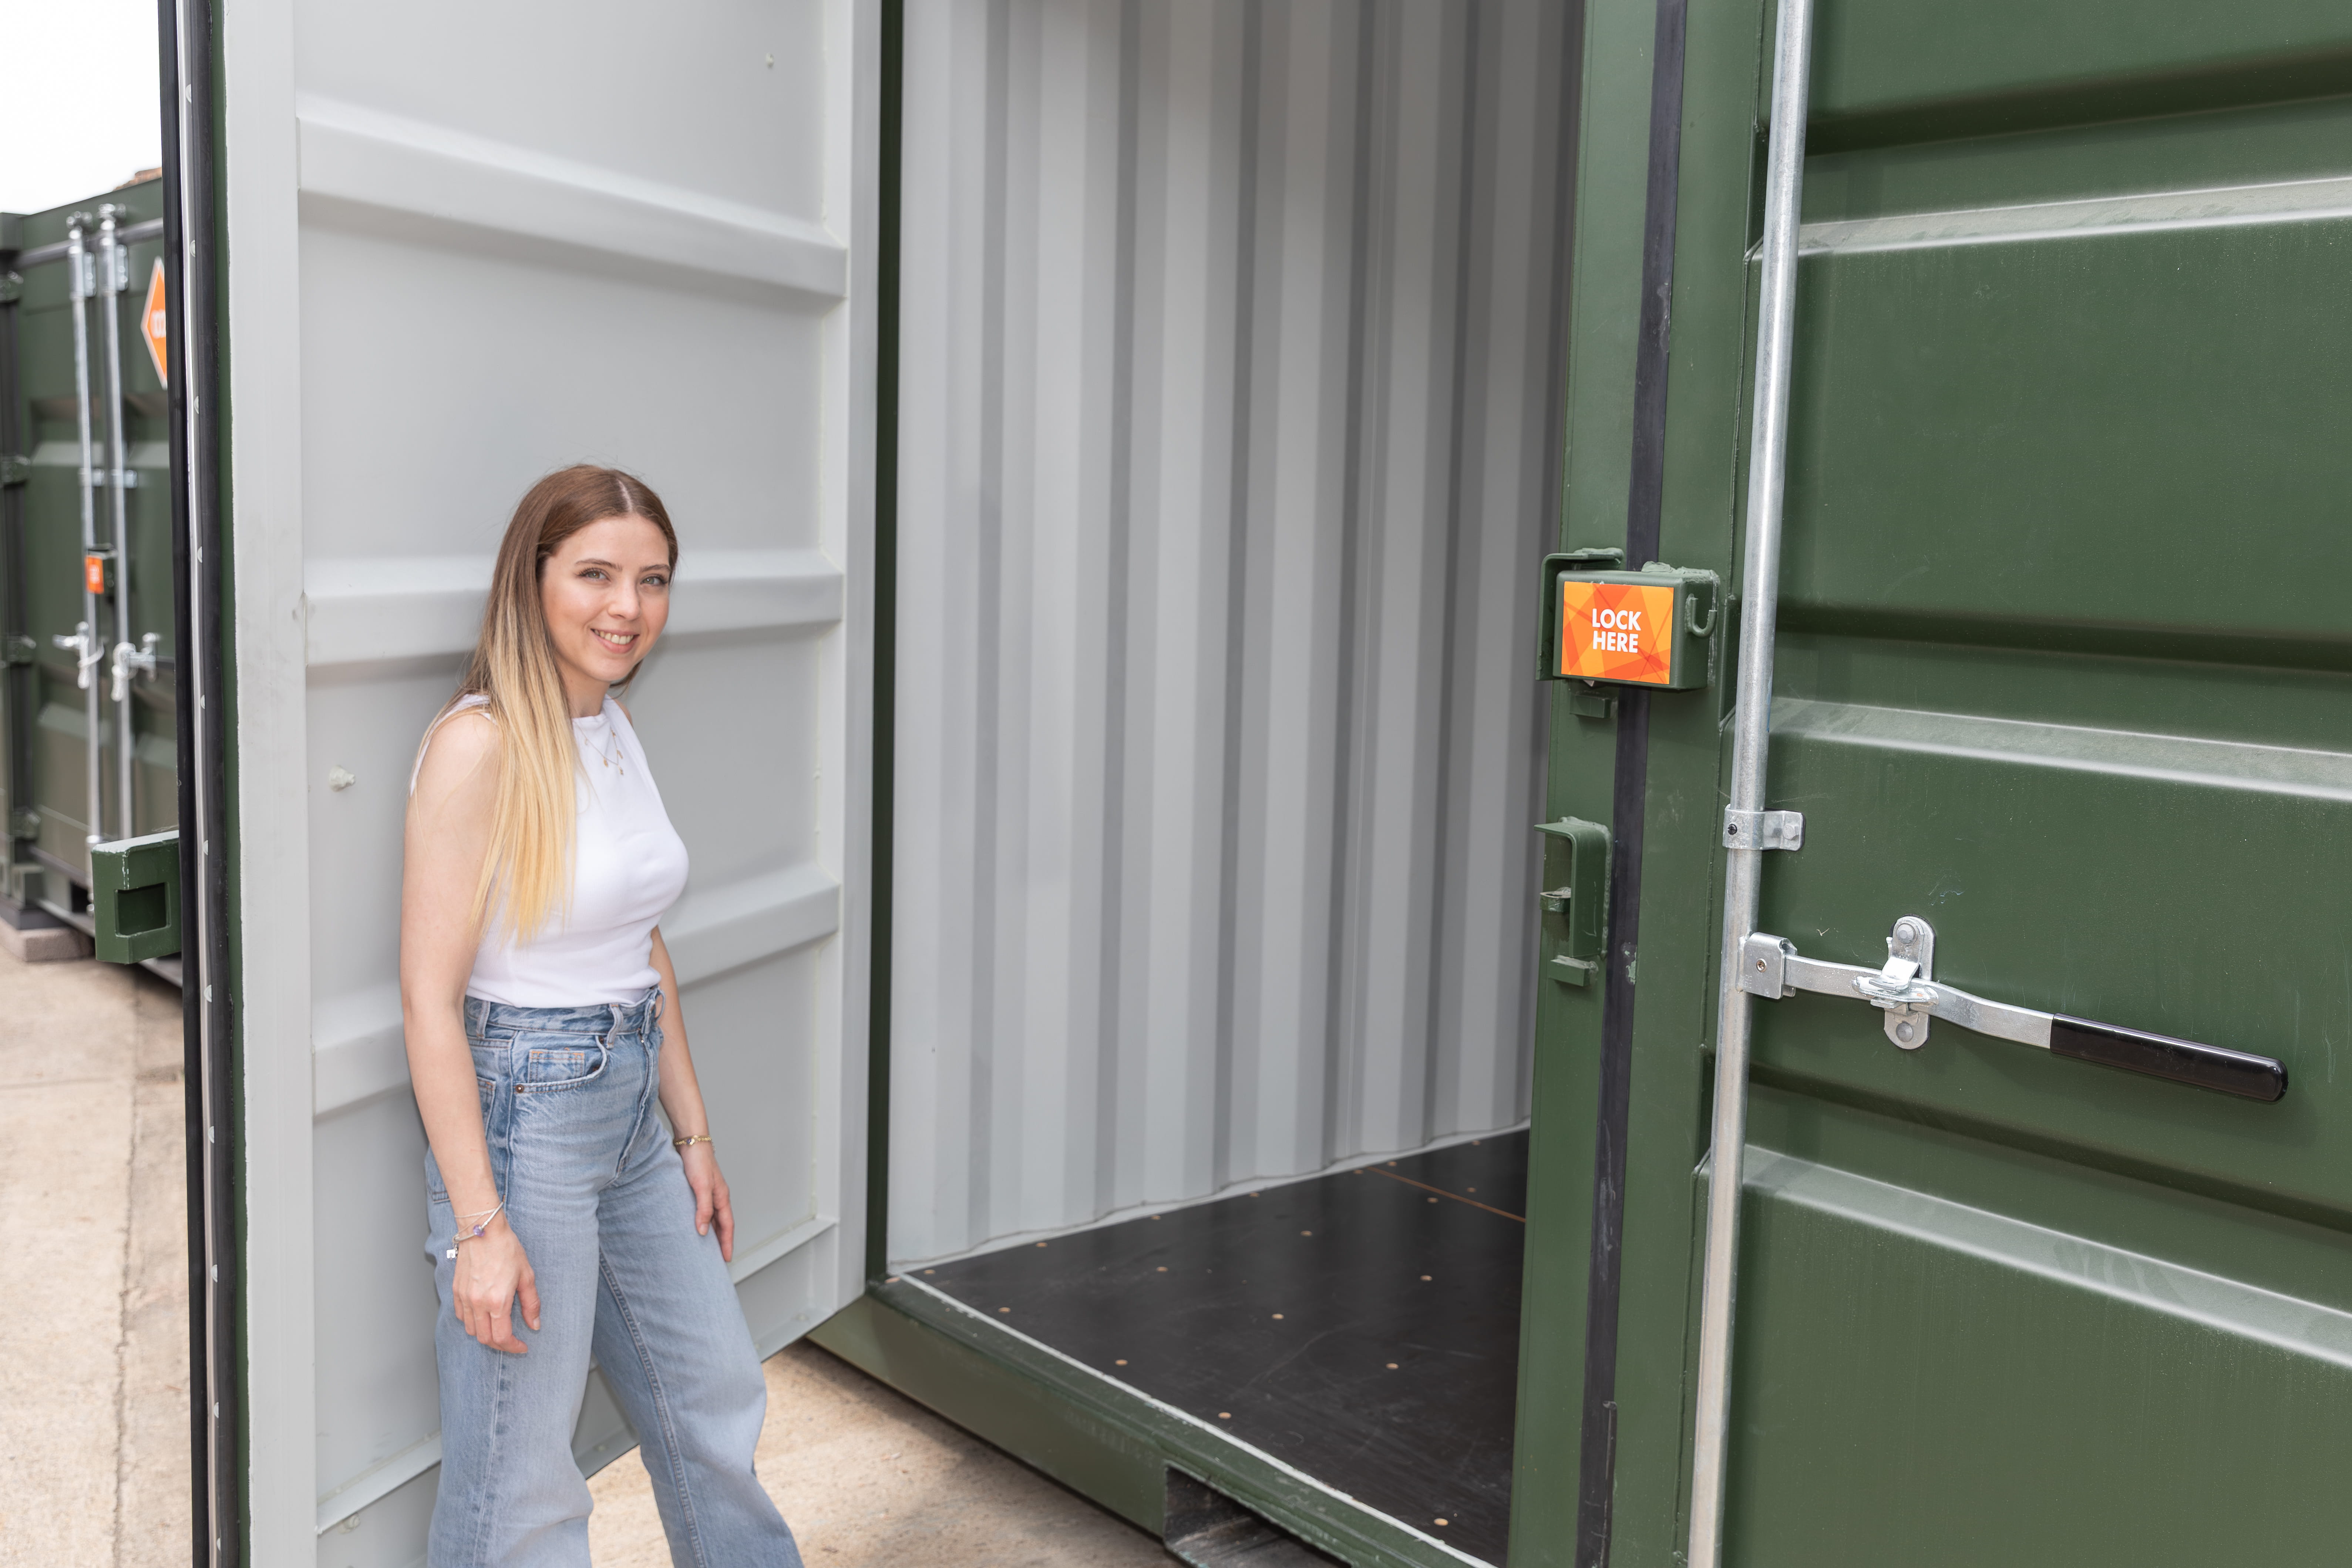
12.2. Security - Inquire about the security features of the storage facility. You should know how they are going to handle and take care of your belongings when you got to decide to sign a contract with them. Check for the presence of alarms, CCTVs or 24-hour monitoring systems, security personnel, and locks for each storage unit.
12.3. Special features - Assuming you're done packing the items you need to house in a storage unit and you realize you need climate-controlled storage so that the electronic gadgets and leather bags and shoes you have won't get damaged. The best thing you need to do is to check for storage facilities equipped with climate-controlling systems. Do not compromise and store your items in a regular storage unit and just hope that they won't get any weather-related damage. (Clue: Climate-controlled units are a bit expensive than the regular ones, but it's worth the cost.)
13. Once you make your choice, arrange and confirm the booking. (Remember, always choose the most cost-efficient and hassle-free storage company. Ask questions about the insurance package, rent and additional fees you need to pay, and if there are promos and discounts.)
Loading Stage
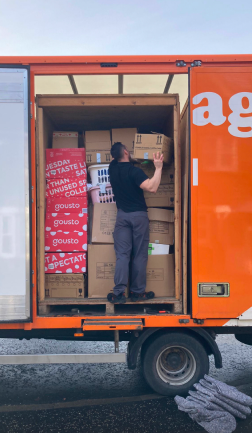
14. Place your items and boxes strategically in your storage unit. Put the heaviest and biggest ones at the bottom to create a solid base. Stack boxes from the ground up to the ceiling to utilise the vertical space in your storage unit.
15. Leave a space in the front-middle part of your storage unit. This is for easy navigation. You can easily access the items on both sides and those on the back part of the storage. And don't forget to create a map of your unit. Just draw a square and divide it into four quadrants. Put the name or number of the boxes in the quadrants reflecting their location.

.png)